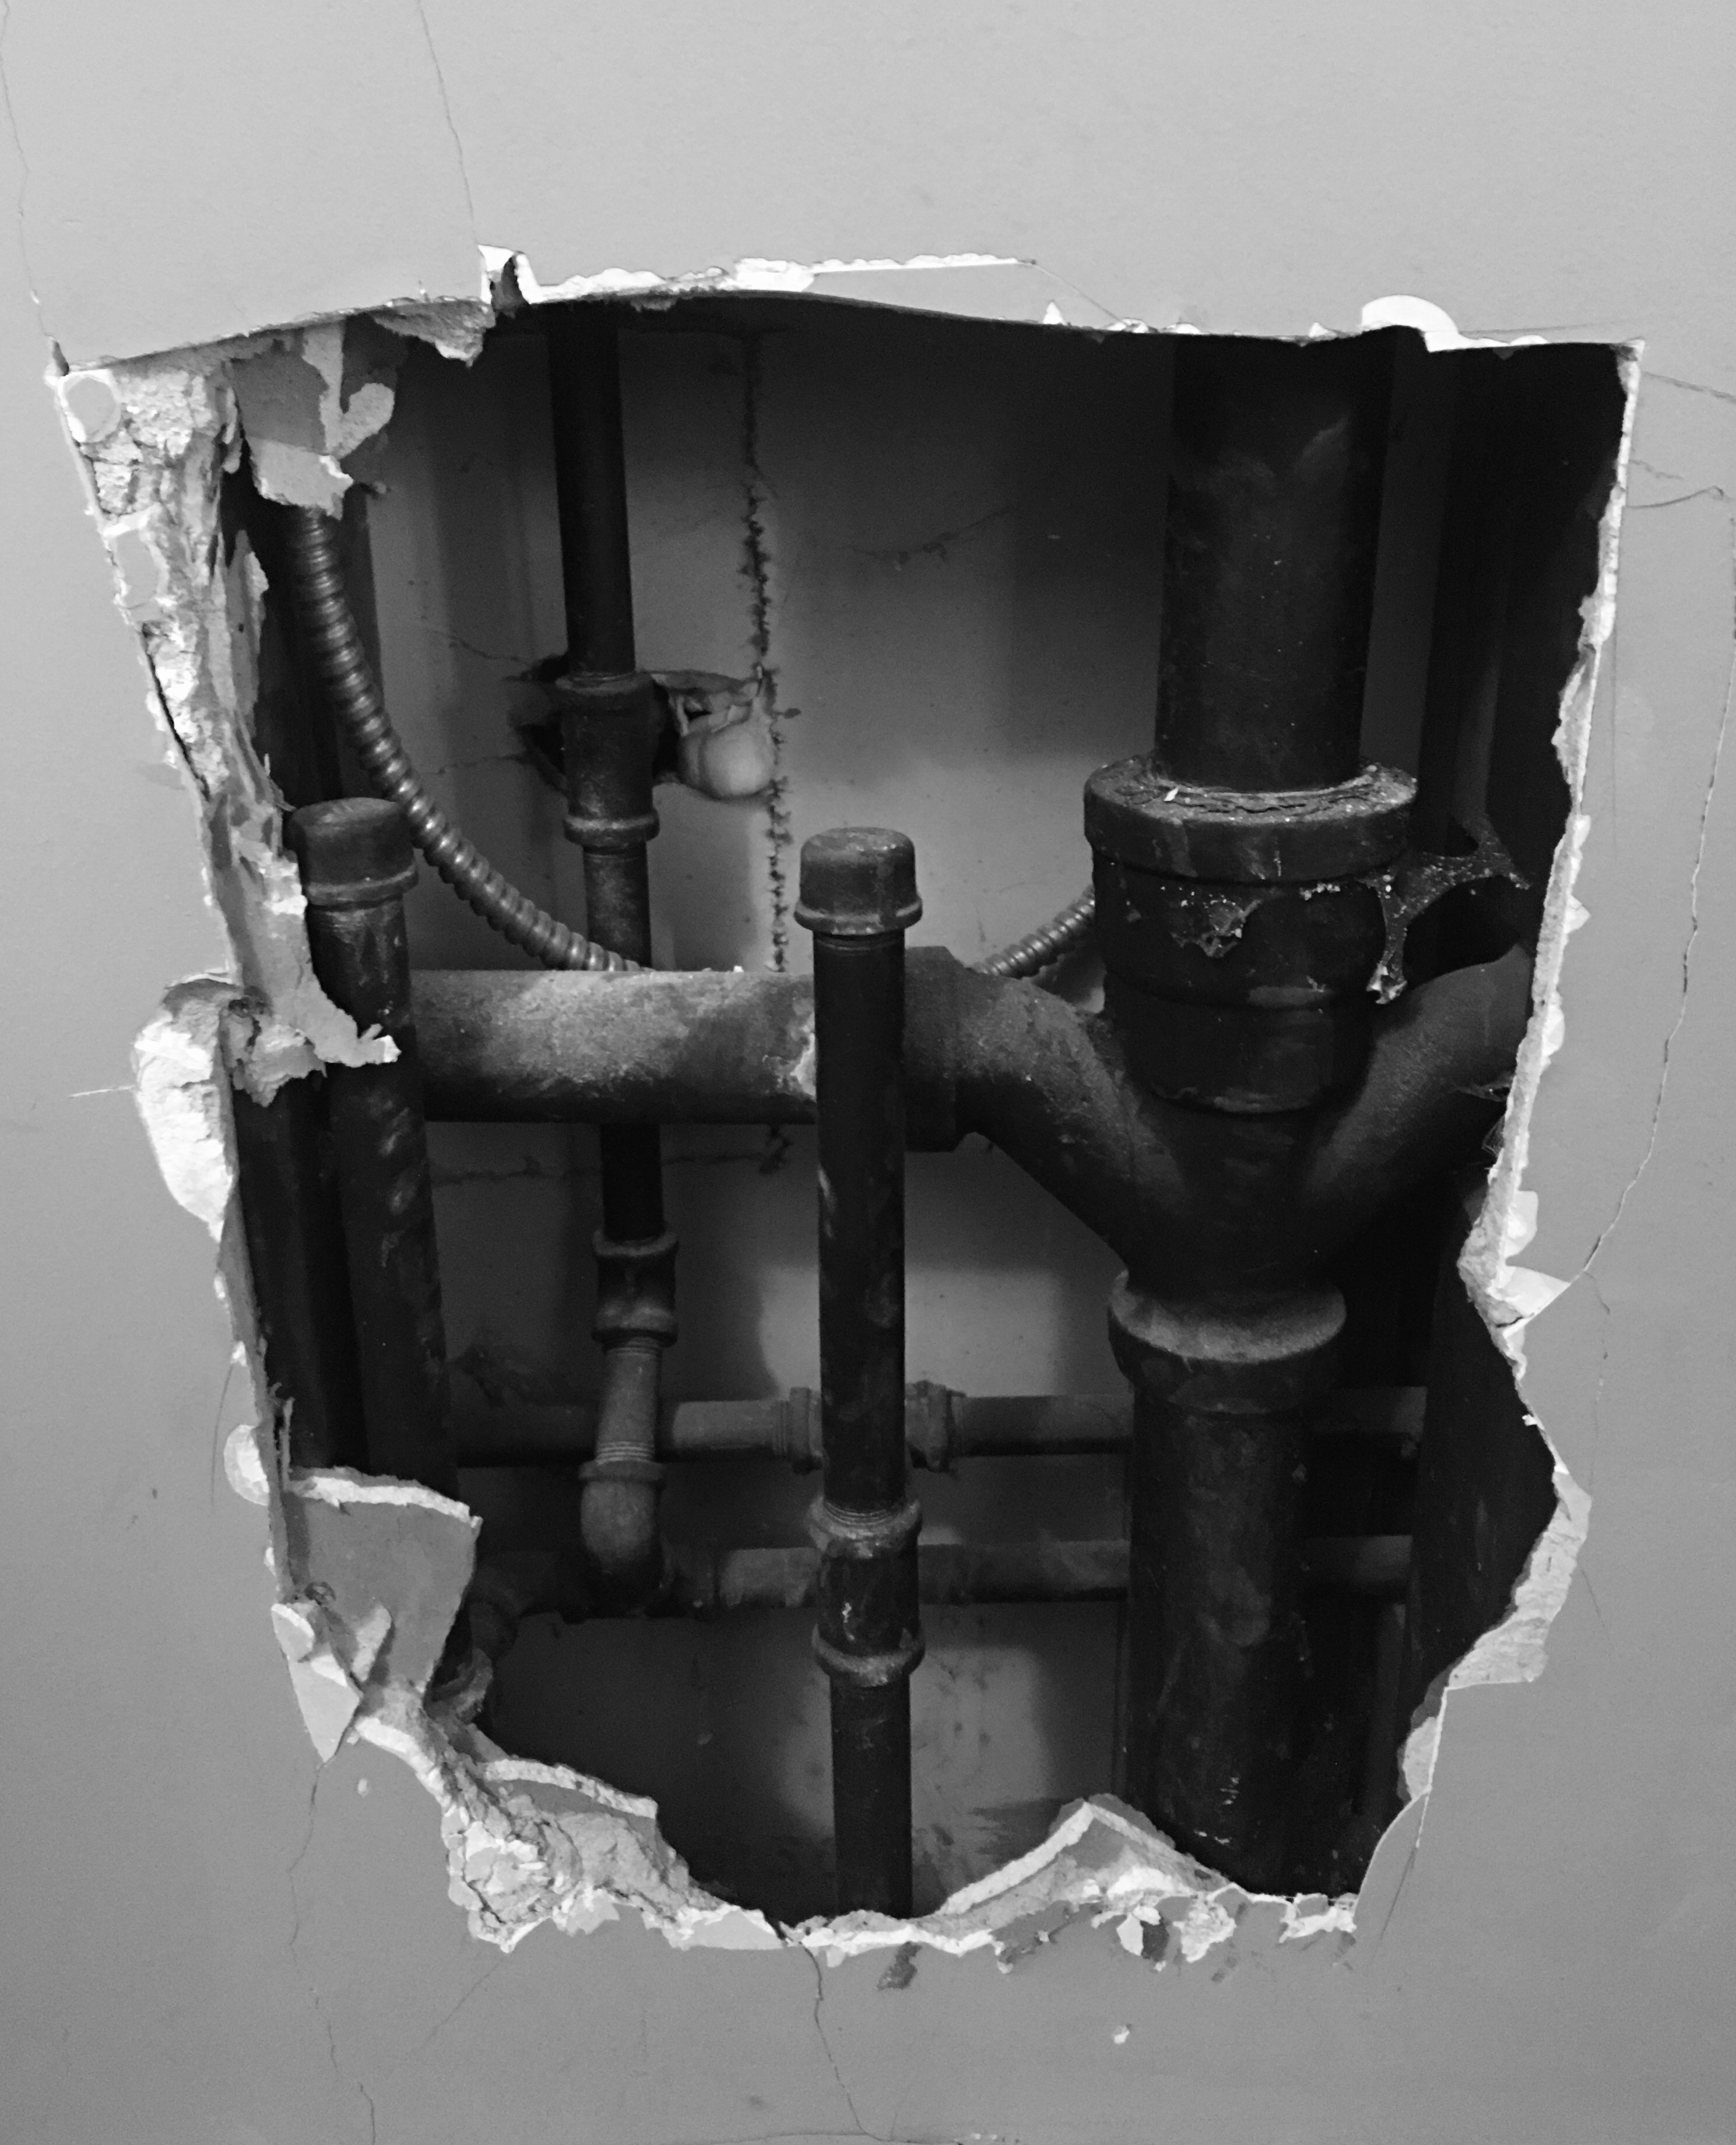
We’re NOT done with demo just yet. I figured I’d get that out of the way before anyone though otherwise.
We have hit the point in the renovation where things are starting to change shape though, and I have to admit that this is extremely satisfying. The change is happening slowly, achingly slowly, glacially slowly some times, but it’s the fact that change is happening, that isn’t behind or inside the walls, is joy inducing and terrifying at the same time. The terrifying side of this progress is stepping into the unknown. I don’t know how to do a bunch of the things that need to be done to get the new walls built to make one bathroom into two! So I did what children have done since the beginning of time when they’ve come up against a problem they don’t know how to solve; “Mom, could you help me…???”

Thankfully, my Mom is amazing (we’ve covered this before), and she was able to get a couple inexpensive plane tickets which allowed her to come and teach me how to frame internal walls, and do it THE RIGHT WAY. (Full disclosure: I almost called this article “How to Build The Wall THE RIGHT WAY”, but I did NOT want to wade into those murky political waters… I’ll save those for another time and place; if you know me, you know where my multicultural loving self stands.)

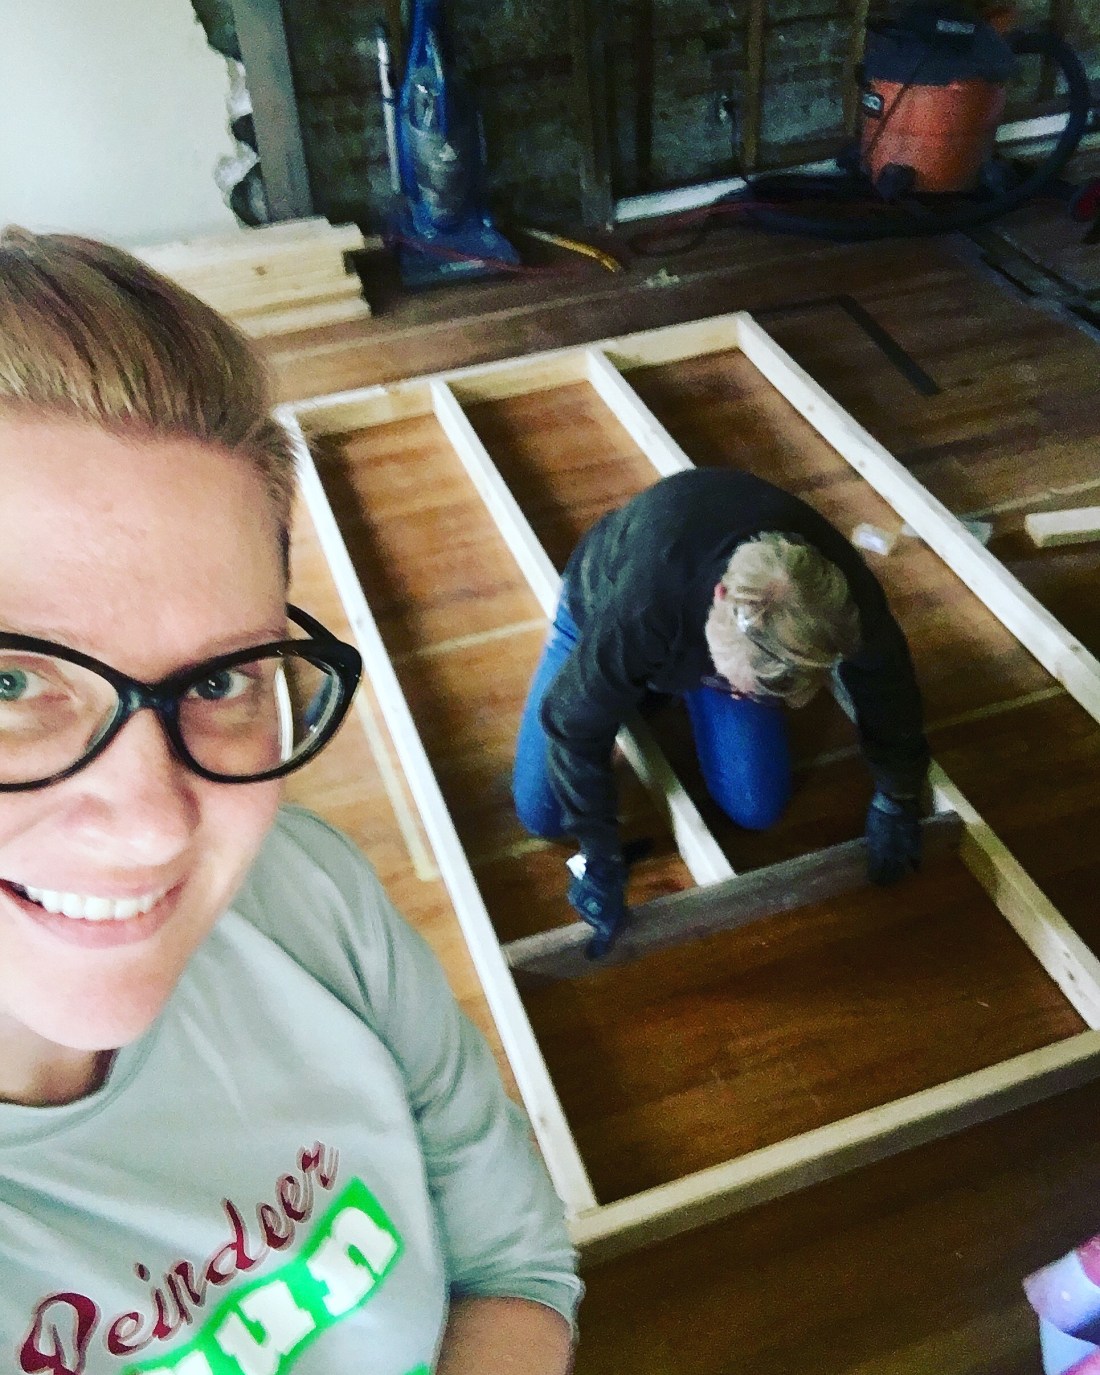
Since we had already removed the bathroom drywall on all sides, and taken down the ceiling from the side of the family room that we are planning to turn into the kitchen and master bathroom we had easy access to the joists to attach anchoring braces for the framing walls. The first step in the process was to make a rough drawing and measure out where the walls should be; keep in mind that you are going to have to put doors in and that those doors will most likely interact with other doors if they are in hallways… Basically the fist step in the process is to do more measuring that you’d ever think was necessary, and then to a bit more to make sure that you initial measurements are correct. I would also recommend taping out the shape of the walls and doorways on the floor; if you are a more visual person like I am this is extremely helpful. You want to make sure all your proportions are right. Once you’ve figured all the sketching out, make sure you know the supplies you need. Most of our framing walls required standard 2x4s, but we did have one bathroom wall that required 2x6s to accommodate the venting and piping that is going through. One thing that I found was invaluable during this project was our larger nail gun; that along with our pancake air compressor were key tools in putting everything together.
The hardest parts of what we were doing was planning for the doorways and the transom window in the bathroom wall. That’s right, there’s going to be a transom window in the top of our bathroom wall. I was worried about the back of the kitchen being dark so this will allow for the light from the bathroom window to go through the wall. Sigh! The thought makes me happy!
After you cut everything, lay it out on the floor like a giant puzzle, because that’s really what it is, and make sure that things measure up right. Another tool that is essential for this job is a carpenters square, you might have seen one hanging in the back of someone’s garage or basement, they look like large steel or aluminum 90 degree corners. You want to make sure that your corners are in fact corners. Some saw horses and a circular saw, or a table saw, or something with a setup like that also makes things go faster, anything so that you don’t have to hand saw your 2x4s…
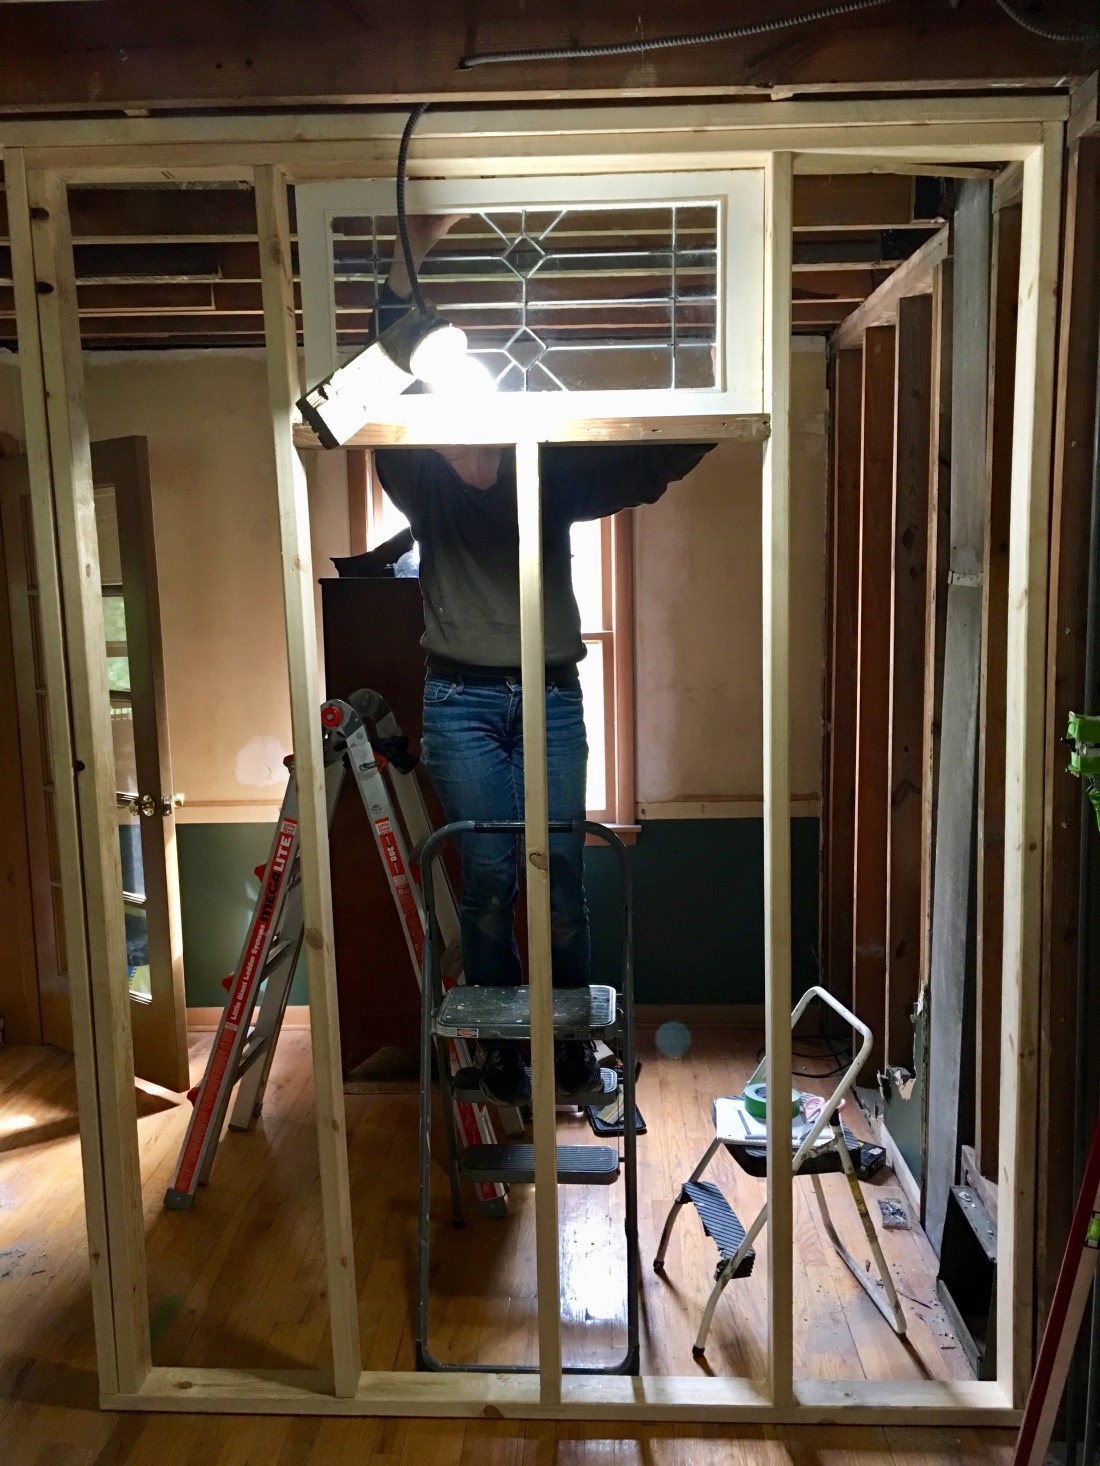
After we nailed the bathroom/rear kitchen wall into place into place my Mom was nice enough to hold enough to hold up the salvaged window that will be the transom window so that I could see what it will look like; eventually. Of course I did the same when she hopped off the ladder.
Now all we need to do is wait till the rest of the plumbing is replaced, then start on the electrical, get the floors redone, think about the tile choices, work on the new bathroom vanities…
